By default, StatusDrift status pages are publicly accessible. However, you may want to restrict access to certain audiences. The password protection feature allows you to require a password before visitors can view your status page.
When to Use Password Protection
Password protection is useful in several scenarios:
- Internal status pages – Share system status with employees without exposing it publicly
- Beta testing – Provide status information to beta testers before public launch
- Enterprise customers – Create dedicated status pages for specific customers with restricted access
- Compliance requirements – Meet security requirements that prohibit public status disclosure
- Development environments – Monitor staging or development systems without public exposure
Enabling Password Protection
To add password protection to a status page:
- Navigate to Status Pages in the sidebar
- Click Edit on the status page you want to protect (or create a new one)
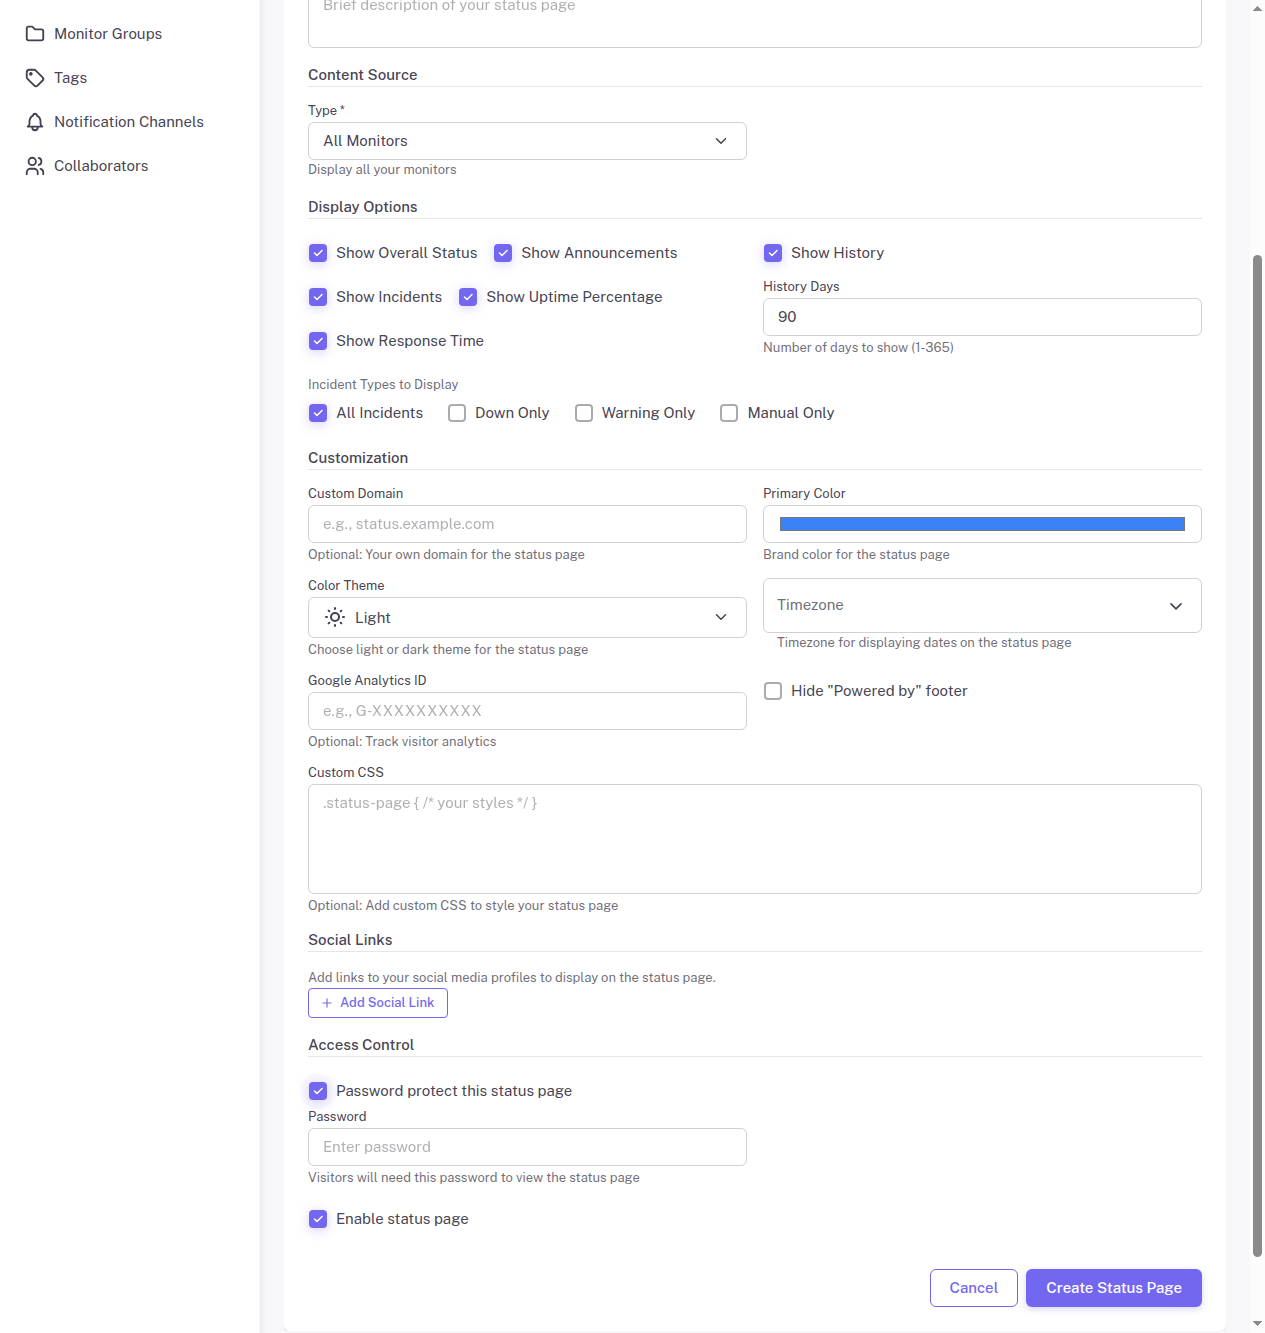
- Scroll down to the Access Control section
- Check the Password protect this status page checkbox
- Enter a password in the Password field that appears
- Save your changes
Once enabled, visitors will see a password prompt when they try to access your status page. They must enter the correct password to view the status information.
How It Works
When a visitor accesses a password-protected status page:
- They see a login form requesting the password
- After entering the correct password, they gain access to the status page
- Their session is remembered, so they do not need to re-enter the password on subsequent visits (until their session expires or they clear cookies)
The password protection applies to all pages within the status page, including the main status view and incident history.
Password Best Practices
When choosing a password for your status page:
- Use a strong password – At least 12 characters with a mix of letters, numbers, and symbols
- Avoid common words – Do not use easily guessable passwords like “password” or “status123”
- Share securely – Distribute the password through secure channels, not public emails
- Rotate regularly – Change the password periodically, especially if team members leave
Changing the Password
To change the password on a protected status page:
- Navigate to Status Pages and click Edit
- In the Access Control section, enter a new password in the Password field
- Save your changes
The new password takes effect immediately. Users with existing sessions may still have access until their session expires, but new logins will require the new password.
Disabling Password Protection
To make a password-protected status page public again:
- Navigate to Status Pages and click Edit
- Uncheck the Password protect this status page checkbox
- Save your changes
The status page will immediately become publicly accessible without requiring a password.
Combining with Other Features
Password protection works alongside other status page features:
- Custom domains – Password protection works with custom domains
- Announcements – Protected pages can still display announcements
- All customization options – Branding and display options work as normal
Considerations
Keep in mind:
- Password protection uses a single shared password, not individual user accounts
- There is no way to track which users accessed the page
- If you need individual user authentication, consider using your own authentication layer in front of the status page
- Search engines will not be able to index password-protected pages