StatusDrift supports generic webhooks for maximum flexibility in integrating with any system that can receive HTTP requests. This guide explains how to configure custom webhook notifications for your monitoring alerts.
What This Integration Does
The webhook integration sends HTTP POST requests to your specified endpoint when:
- A monitored service goes down or becomes degraded
- A service recovers and returns to normal status
- SSL certificates are expiring
- Performance thresholds are exceeded
Each webhook request includes a JSON payload with detailed information about the alert, making it easy to process in your receiving system.
Prerequisites
Before configuring webhook notifications, ensure you have:
- A StatusDrift account with at least one monitor configured
- An HTTP endpoint that can receive POST requests
- Network access from StatusDrift servers to your endpoint (publicly accessible or whitelisted)
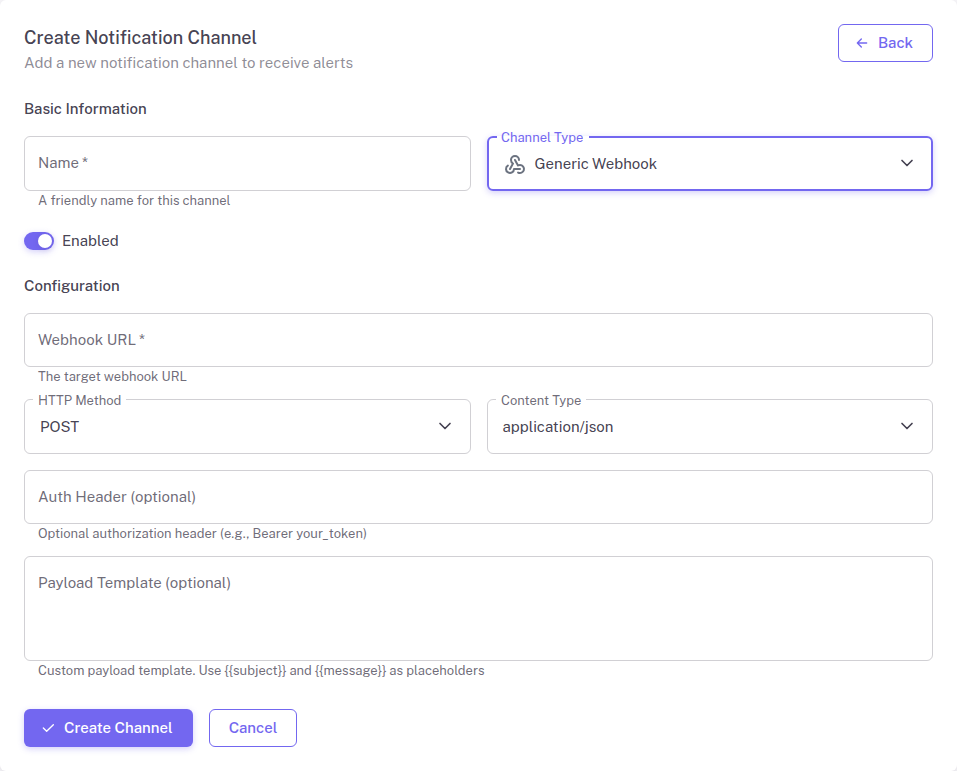
Setting Up Webhook Notifications
Configure webhook notifications in your StatusDrift dashboard:
- Log in to your StatusDrift account at app.statusdrift.com
- Navigate to Notification Channels in the sidebar
- Click Add Channel
- Select Webhook from the integration type dropdown
- Enter a descriptive name for this channel (e.g., “Production Alert Webhook”)
- Enter the full URL of your webhook endpoint
- Optionally configure authentication headers if your endpoint requires them
- Click Save to create the channel
Assigning to Monitors
Connect the webhook channel to your monitors:
- Go to Monitors in the sidebar
- Select the monitor you want to receive webhook notifications
- Scroll to the Notification Channels section
- Check the box next to your webhook channel
- Save the monitor configuration
Webhook Payload Format
StatusDrift sends a JSON payload with each webhook request. The payload uses template variables that are replaced with actual values when the webhook is triggered:
{
  "subject": "{{subject}}",
  "message": "{{message}}",
  "timestamp": "{{timestamp}}",
  "incident": {
    "id": "{{incident_id}}",
    "name": "{{incident_name}}",
    "priority": "{{priority}}",
    "status": "{{incident_status}}",
    "url": "{{incident_url}}",
    "created_at": "{{created_at}}",
    "resolved_at": "{{resolved_at}}"
  },
  "monitor": {
    "id": "{{monitor_id}}",
    "name": "{{monitor_name}}",
    "url": "{{monitor_url}}",
    "dashboard_url": "{{monitor_dashboard_url}}"
  },
  "event": {
    "type": "{{event}}",
    "trigger_event_type": "{{trigger_event_type}}",
    "root_cause": "{{root_cause}}"
  },
  "recurring": {
    "is_recurring": "{{is_recurring}}",
    "recurrence_number": "{{recurrence_number}}"
  },
  "domain_expiry": {
    "expiration_date": "{{domain_expiration_date}}"
  },
  "certificate_expiry": {
    "valid_to": "{{certificate_valid_to}}",
    "issuer": "{{certificate_issuer}}"
  }
}
All date and time values use the ISO 8601 format: 2026-03-07T06:22:28+00:00
Available Variables
The following template variables are available for use in your webhook payloads:
| Variable | Description |
|---|---|
{{subject}} | Alert subject line |
{{message}} | Alert message content |
{{timestamp}} | Event timestamp (ISO 8601 format) |
{{incident_id}} | Unique incident identifier |
{{incident_name}} | Name of the incident |
{{priority}} | Priority level: low, medium, high, critical |
{{incident_status}} | Current incident status |
{{incident_url}} | URL to the incident details |
{{created_at}} | When the incident was created (ISO 8601 format) |
{{resolved_at}} | When the incident was resolved (ISO 8601 format) |
{{monitor_id}} | Unique monitor identifier |
{{monitor_name}} | Name of the monitor |
{{monitor_url}} | URL being monitored |
{{monitor_dashboard_url}} | URL to monitor dashboard |
{{event}} | Event type: created, reopened, resolved, escalated, recurring |
{{trigger_event_type}} | Trigger: down, warning, domain_exp, cert_exp (or null) |
{{root_cause}} | Root cause of the incident |
{{is_recurring}} | Whether this is a recurring incident |
{{recurrence_number}} | Number of times incident recurred |
{{domain_expiration_date}} | Domain expiration date (ISO 8601 format) |
{{certificate_valid_to}} | SSL certificate expiry date (ISO 8601 format) |
{{certificate_issuer}} | SSL certificate issuer (for cert_exp alerts) |
Testing the Webhook
Verify your webhook integration is working:
- Go to Notification Channels
- Find your webhook channel in the list
- Click the Test button
- Check your endpoint to confirm the test payload was received
Configuration Options
The webhook integration supports these configuration options:
| Field | Required | Description |
|---|---|---|
| Webhook URL | Yes | The full HTTP/HTTPS URL to send notifications to |
| HTTP Method | No | HTTP method to use (POST by default) |
| Custom Headers | No | Additional headers to include with each request (e.g., Authorization) |
| Retry on Failure | No | Number of retry attempts if the webhook fails |
Security Considerations
Use HTTPS
Always use HTTPS endpoints to ensure webhook payloads are encrypted in transit. StatusDrift will send to HTTP endpoints but HTTPS is strongly recommended.
Validate requests
Consider implementing request validation in your webhook receiver to verify requests originate from StatusDrift. You can use custom headers with secret tokens for this purpose.
Whitelist StatusDrift IPs
If your endpoint is behind a firewall, you may need to whitelist StatusDrift IP addresses. Contact support for the current list of egress IPs.
Troubleshooting
Webhooks not being received
- Verify the webhook URL is correct and publicly accessible
- Check that your server firewall allows incoming requests from StatusDrift
- Confirm the endpoint returns a 2xx status code to acknowledge receipt
- Review server logs for any errors processing the request
Authentication failures
- Double-check your custom headers are correctly formatted
- Ensure authentication tokens have not expired
- Verify the Authorization header format matches what your endpoint expects